Friday, August 28, 2009

3rd batch of cards for the festival

Here is the next batch of cards I've made for the festival.

If you are interested to see the other batches of cards, try here:
1st batch, 2nd batch, 4th batch, 5th batch , 6th part, 7th part and the last 8th part.

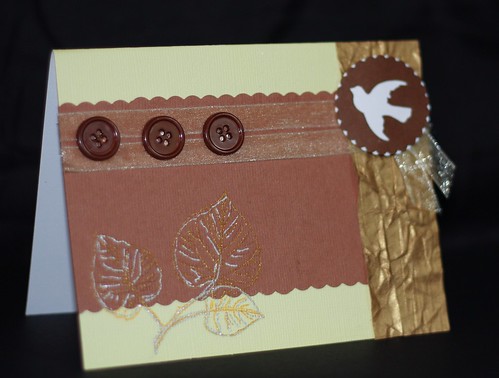
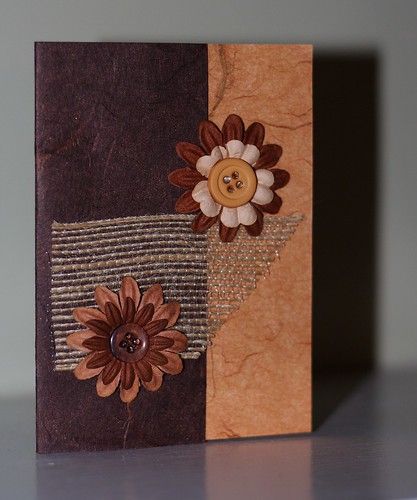
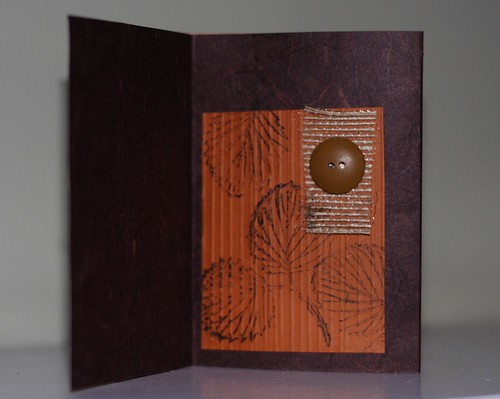
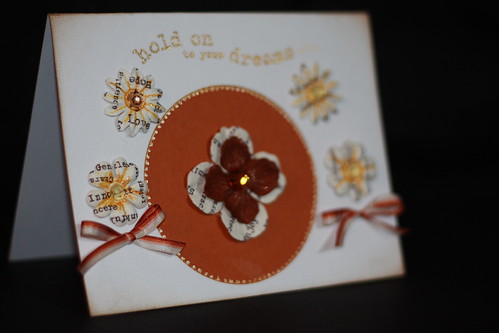
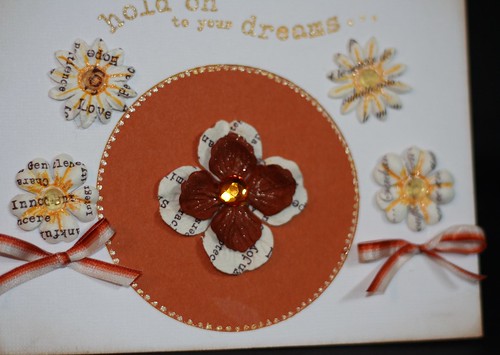
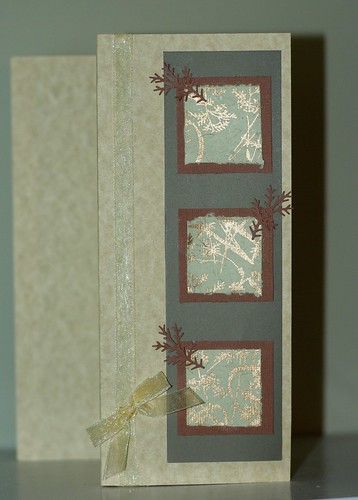
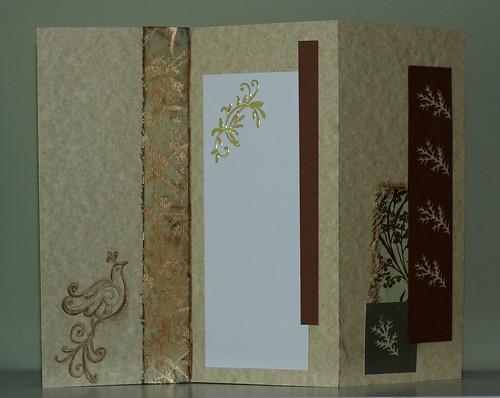
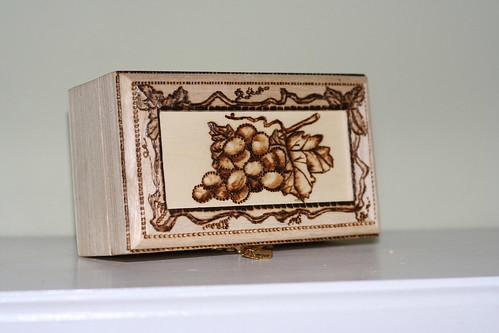
1. For some reason I really like better the cards with earth colors more. The trinket on the side is made with dove punch, the yellow cardstock is regular, the brown one is with small lines ( but it's not a handmade paper!. The gold ribbon is paper, and the small transparent yellow-ish ribbon is fabric. I used a silicon stamp for the leaves and then draw with gel pens on top of it.
cards2ndbatch015

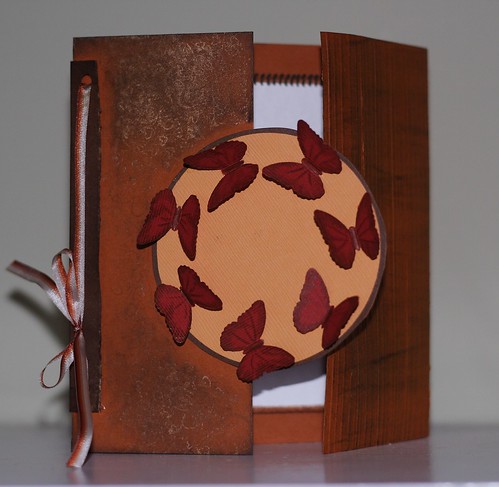
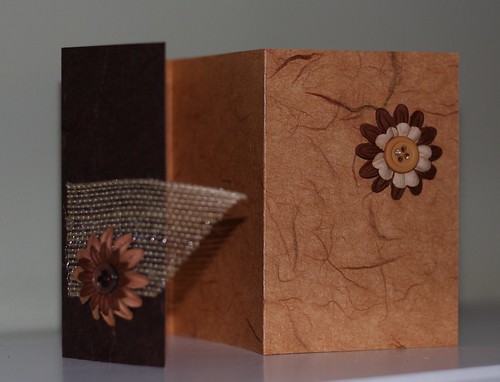
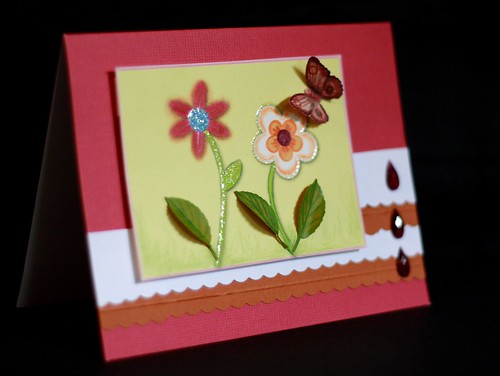
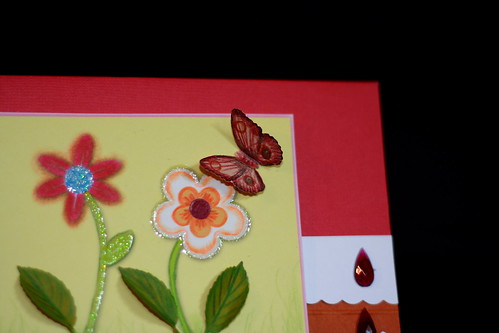
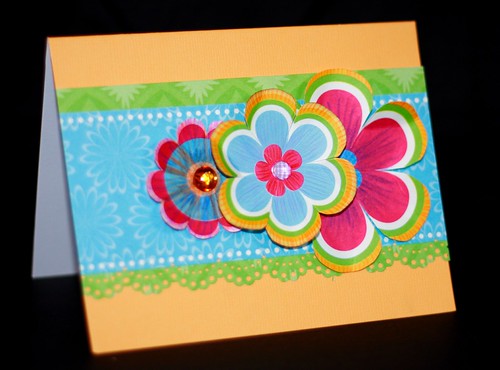
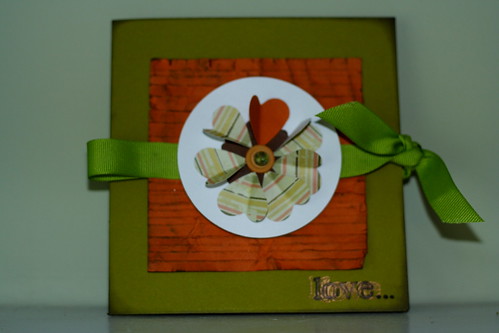
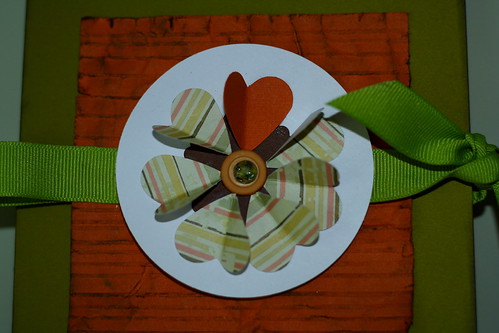
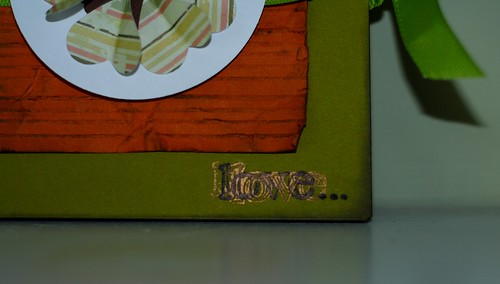
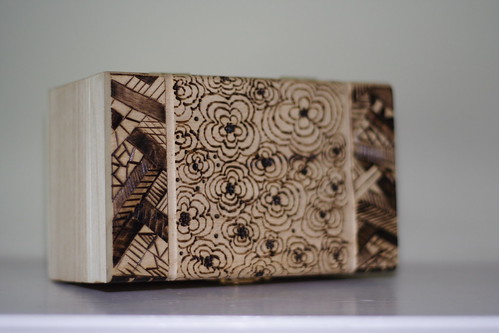
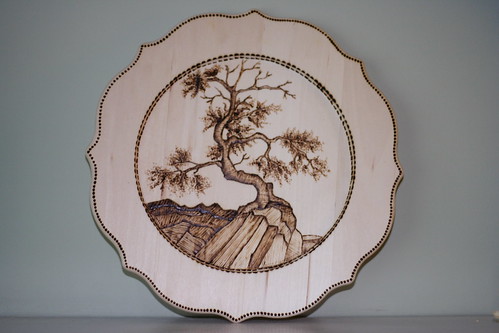
2. This is my favorite! The green cardstock is regular cardstock that I made look like that by "burning" the edges with ink, filing with a nail file, coloring with different inks and sponge ( blue and black). The butterfly is made with pencils on a white cardstock. The beige and brown paper are handmade paper ( the one that I used for the folding card in the previous batch) and it's the same paper, just different sides. I've scored the brown one way then drew with gel pen on top, the beige paper is scored 2 ways ( to make like little boxes) and I drew with a gold gel pen on top.
The flower is from paper, as I drew on top of it and scored it with the ScorPal, the leaves are handmade paper+ pencil+ gel pen.
cards2ndbatch017

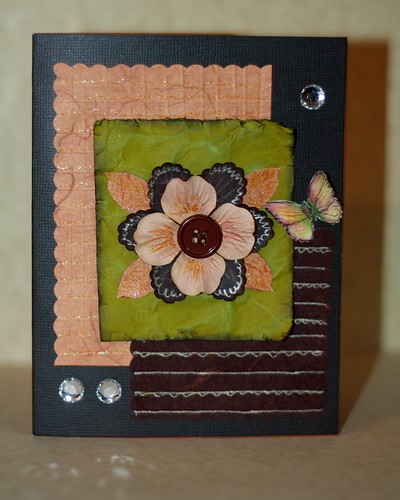
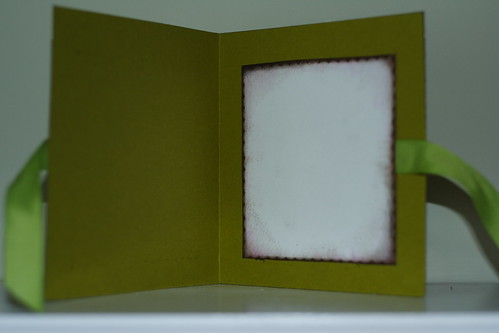
I've glued a different color paper on the inside as you can see.
cards2ndbatch020

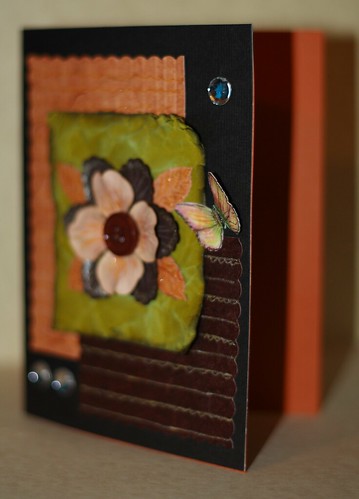
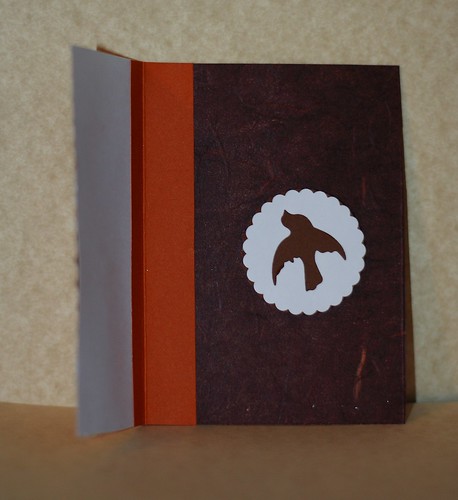
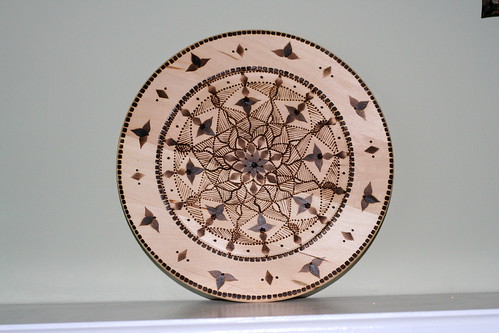
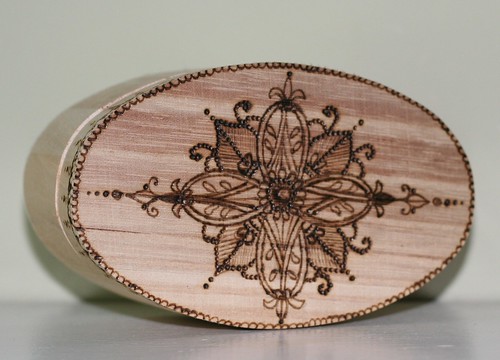
3. One of my favorites again! The brown cardstock is scored and filed after, I drew on top of the bird with sparkly gel pens and pencils.
cards2ndbatch022

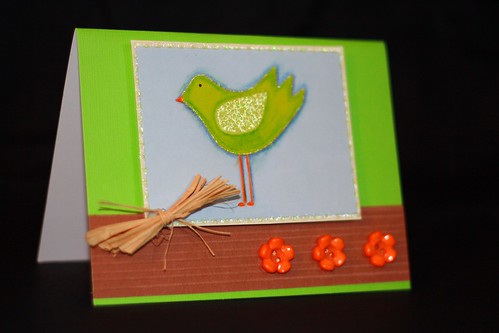
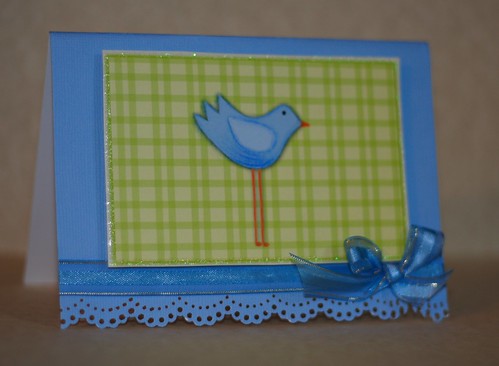
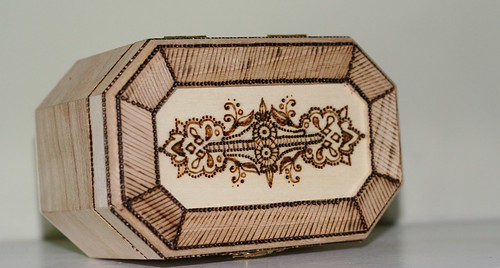
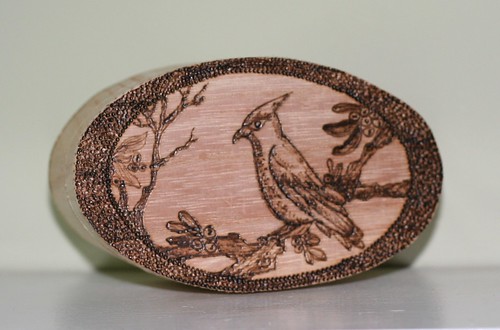
4. I like the bird ones. This birs is cut and glues to the paper, then I made " shades" with pencils as to look like it isn't. I drew with pencils and gel pens on to pof it. The edge is made with a Martha Stewart punch.
cards2ndbatch024

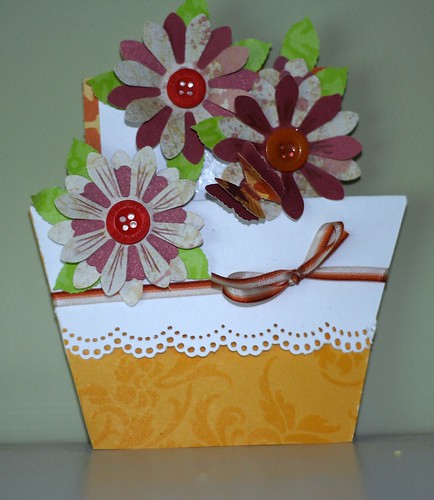
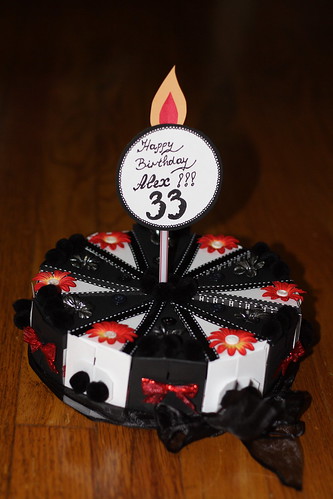
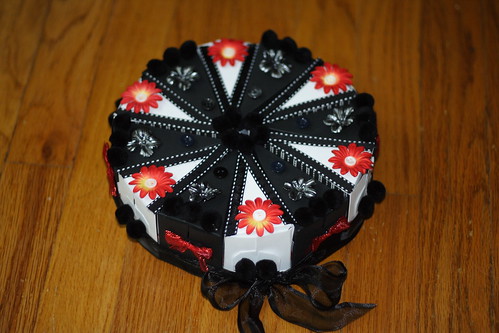
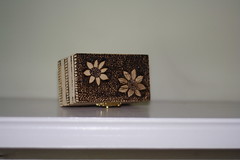
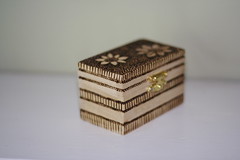
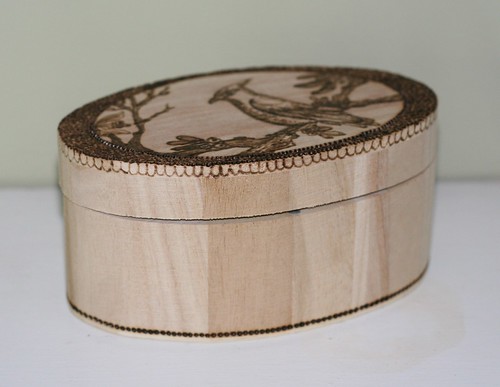
5. This card is so small that it was slipping every time I tried to take a picture of it! Unfortunately it looks like the edges are not straight on the picture, but they are, it's just the picture was taken right before it fell again. I was shooting all pictures on the couch and the result wasn't very good. :-/
cards2ndbatch028

This is how it opens with different kinds of paper on the inside as well:
cards2ndbatch029

And that's all for today, more cards tomorrow :-)

Thursday, August 27, 2009

2nd batch ot cards for the festival

Here I am, busy, busy , busy :-))

If you've missed the other card batches, here are 1st , 3rd batch and 4th batch, 5th batch, 6th part, 7th part and the last 8th part.

1. This card was very interesting to make. I've used a regular magenta cardstock fo the base. I stamped with gold and black the the left folding side of the card and scored the whole right folding side. I've used a butterfly puncher and then drew with black pencil on top of the cardstock.
Aug20091043

Aug20091046

2. This card was made with handmade paper and fabric flowers, some buttons and a lot of love :-)
Aug20091047

For this part I used a silicon stamp of 2 leaves.
Aug20091048

This is how it unfolds
Aug20091049

3. I love this one! One of my favorite! I've made the butterfly with such care! And the leaves too!
cards2ndbatch003

cards2ndbatch005

4. This is a special one! It might not look like that to anybody else, but a special thought was put in it while I was making it. "Hold on to your dreams..." indeed!
cards2ndbatch010

The edges are "burned" with brown ink, I used paper and fabric flowers.

cards2ndbatch009

5. Paper flowers, cut by hand with added sticky gems. Very bright and cheerful this one :-)
cards2ndbatch011

Monday, August 24, 2009

First batch of cards for the Carrot Festival

Hi all, I'm just flying though the website to show you the first batch of cards I made for the Carrot festival, because my daughter has a birthday today...and I am just exhausted of making 46 cards ( yes, that's correct, 46 full size cards, lo and behold!) I promise tomorrow a plum tart recipe, that won our hearts over the weekend! :-) Of course I'm making Ellie a cake, what kind of question is that! :-) Soooo, just wait and see ;-) The party is going to be next Sunday, 30th :-) If you want to check out the previous and next batches of cards, try here:


2nd part, 3rd part, 4th part, 5th part, 6th part, 7th part and the last 8th part.


Here is the first card:


1. A flower pot card- Everything is handmade on it, except the buttons :-) I wanted to try my new flower puncher and it was great!


Aug20091019


I don't like that card very much though...I kind of think it didn't do me good to stick to the instructions. I was following by the book this website's explanation and it I felt I was holding back somehow. It's not bad, but it could have been better I think.


This is how the card pops up:


Aug20091020


2. This is very nice earth-y combination of colors, I love it! Although I was little shy with the design I think.


Aug20091028


This is the inside, it doesn't show up on the pictures very well, but I used different techniques to make the edges on the handcrafted paper:


Aug20091030


Here is a close up on the bird I drew :-)


Aug20091031


3. This is the 3rd card I made and my favorite from the set. I apologize for the pictures quality.


Aug20091033


The orange card-stock is just a plain regular kind. I used the Score Pal to make the lines, then folded it, used a nail file to make the appearance more "raw" and then used ink on top of that. And voila..."handmade" paper ;-)


Aug20091035


The sign "Love.." didn't come out well in the pictures for some reason it looks unreadable, but on the real card is not like that, it just have a shade of gold behind the black ink.


Aug20091034


And finally, the inside of the card:


Aug20091040


This is for today, I'll show you the other ones tomorrow :-) Remember, I have 46 so far ;-) Ta-ta for now! :-)

Wednesday, August 19, 2009

The boy who has my heart has a birtday today!

PaperCakeReady2 (2) 
Today is the day! My better half is 33 years old! I can't believe how fast time flies! 
Since he is on a special diet ( I am going to write about that in the food section and how we decided to change our way of eating, if you are interested in that, keep an eye for the posts)he couldn't eat cake and I couldn't make him one. :-( PaperCake (6) 
I was very sad...and was brainstorming what else I can make for him. So, I stumbled upon the idea of a cake made out of paper in the blog of a friend of mine( Racheto!). The idea is that each piece is a small box that you can put stuff in and you arrange them in a circular shape, as a real cake. PaperCake (10) 
It is a great idea for a kids birthdays as well, as you can use the small boxes for party favors etc, or for a babyshower, or even bridal shower or a wedding. Here is the shape I used, there are others out there but I liked this one the best.
PaperCake (11)
This is how I made each piece: 
1. First I traced and cut the piece with my light box ( I recently got that and it's just amazing!)
PaperCake1 (2) PaperCake1 
* Note, that if you have a printer that can handle cardboard, you don't need to trace and cut, you can just print out the pieces and score and fold them. Unfortunately, my printer can't print on a cardboard, that's why I had to do it by hand. 
2. Then I folded it on the score table( which is absolutely unbelievably time saving) and put it together. PaperCake1 (5) PaperCake1 (8) 
And then I decorated each piece with different paper, paper flowers, ribbons.
PaperCake (1) PaperCake (4) 
Then I put a piece of paper ( decorated) in each box, saying why the kids love him so much ( I asked them and wrote it down).
Aug20091026 
He was very happy when I gave it to him( as you can see), I even made a candle ( out of paper) and he pretended to blow the candle and made a wish :-) All I want to say is that it is the perfect gift for somebody on a diet! :-))))
Aug20091055 
Happy Birthday, honey!!! We love you!!! Here is the ScorePal I used ( Sorry,I couldn't find a link to the light box):

Tuesday, August 18, 2009

The last 6th part of pyrographed boxes!!!

Finally!
The last batch of boxes is ready to be seen! :-) I am so relieved that I am finished! 46 boxes total!
I already started on the cards and it's going very slow! :-( The kids are all over me, so I really have no idea how many cards I am going to be able to make realistically.
Anyway, here are the last of the boxes:

1. A small flower box
Boxes333 (2) Boxes333

2. This is a medium box that I already gave as a gift to a close friend of mine, so this one couldn't make it to the festival (un)fortunately :-)
Boxes333 (5)

Boxes333 (3)

3. I just love this one! One of my favorite! It's a medium to small box, a little bit bigger than the little ones. I don't know why I didn't think of making more with grapes in the beginning. If I have the time ( which I doubt) I'll probably make some more.
new10078

4. A large size ( like a normal dining plate) wooden plate. This is the second time I make this design, it was on a box before if you remember, but I really liked that tree! And I wanted to try a new shading technique that I figured out on my own. The results I think are vissible. It's so much better than the 1st try.
WoodenPlates (1)

5. A patterned plate, large size.
WoodenPlates (5)

WoodenPlates (6)

There is one more box that unfortunately I don't have a picture of it yet. It's the same design as the one with the crayons. A friend of mine wanted to get the 1st one, so I made a new one for the festival.

I hope you enjoyed the pyrographed boxes!
Tomorrow I'll hopefully post the surprise for my husband! ;-) The one you don't want to miss ;-)
If you liked this, you might want to check out the part 1, part 2, part 3,part 4 and part 5 too.

Monday, August 17, 2009

Even more surprises- part 5

I feel like on a rat race these days!!! It's one thing, after another, all in need of attention and it seems like I can never have enough time! I have been preparing the surprise for my husband's birthday ( remember, I told you yesterday ;-) ) but I can't show you now ;-) You'll have to wait until 19th! All I can tell you now is that YOU DON'T WANT TO MISS THAT! :-))) Anyway,here are some more boxes :-)


1. Medium size jewelry box

WoodenBoxes30002


WoodenBoxes30001


2. Painting brushes box ( large size)

WoodenBoxes30005


WoodenBoxes30004


3. This is the larges box I pyrographed , it can hold 2 large books at least, it's huge!

WoodenBoxes30008


WoodenBoxes30007


4. Medium size jewelry/treasure box.

WoodenBoxes30009


WoodenBoxes30010


5. A medium size jewelry/treasure box


WoodenBoxes30011


WoodenBoxes30012


6. Large size box ( it can fit 1 regular size book)


WoodenBoxes30014


WoodenBoxes30015


7. Cute small bear cub box


WoodenBoxes30016


WoodenBoxes30017


8. Small tortoise box


WoodenBoxes30020


WoodenBoxes30021


I think I would have boxes for one more post, and that's it :-) Then I'll show you the cards! On top of that I have a lot of food recipes that are just waiting to be published! If you liked this, you might want to check out part 1, part 2, part 3, part 4 and part 6.

Popular Posts

Related Posts with Thumbnails